Add a shadow to a button with rounded edges
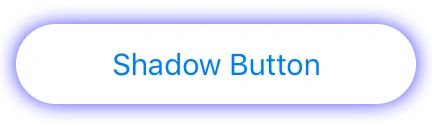
Recently I needed to create a rounded button with a uniform shadow as shown below. This post outlines how this can be achieved. These same steps can be used for other views such as a UITextField or UIImageView.
First create your button. I chose to do it in a storyboard but you could also use a XIB or create it programatically. Give your button some constraints. To keep things simple I just centered it horizontally and vertically in its containing view and gave it a width of 200 and a height of 44. Also give your button a title.

Next, create an IBOutlet for your button (unless you created it programmatically).
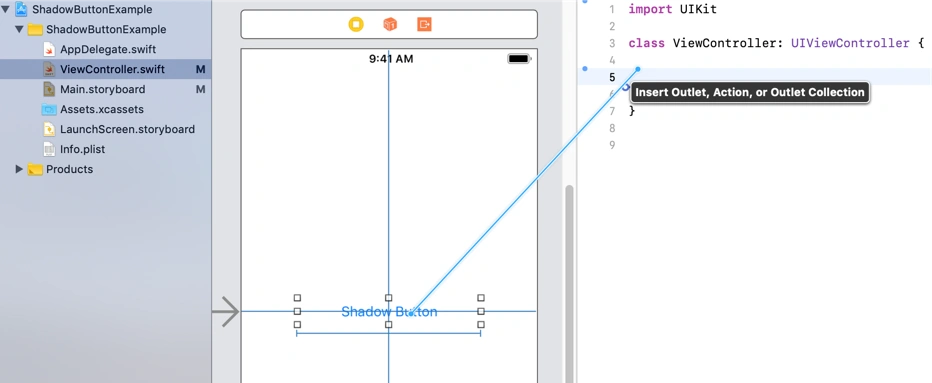
It should look something like this. I named mine shadowButton.
class ViewController: UIViewController {
  @IBOutlet weak var shadowButton: UIButton!
}
Next we need to write a function that updates the look of the button.
func setShadowButtonDisplay() {
  shadowButton.backgroundColor = .white
  shadowButton.layer.cornerRadius = 20
  shadowButton.shadowColor = UIColor.blue.cgColor
  shadowButton.layer.shadowOpacity = 0.75
  shadowButton.layer.shadowOffset = .zero
  shadowButton.layer.shadowRadius = 5
  shadowButton.layer.shadowPath = UIBezierPath(roundedRect: shadowButton.bounds, cornerRadius: shadowButton.layer.cornerRadius).cgPath
}
- backgroundColor is set to white. You can set it to any color, just make sure to pick a color as having a transparent background will cause the shadow to show through the inside of the button.
- cornerRadius determines the angle of the curved edges of the button. I prefer the look when it is set to 20 but you can play around with this to see what looks best for your button.
- shadowColor determines the color of the button’s shadow. It must be a CGColor.
- shadowOpacity determines how transparent the shadow is (0-1). I prefer 0.75 but you can play around with this to see what looks best for your button.
- shadowOffset determines how far away from the button the shadow should be. Setting it to zero displays the shadow equally around all sides of the button.
- shadowRadius determines how wide the shadow should be. I prefer 5 but you can play around with this to see what looks best for your button.
- shadowPath determines the shape of the shadow. Here we set it to match the shape of the button including the button’s rounded corners.
Finally, update our shadowButton IBOutlet with didSet. Within didSet call our setShadowButtonDisplay function.
class ViewController: UIViewController {

  @IBOutlet weak var shadowButton: UIButton! {
    didSet {
      setShadowButtonDisplay()
     }
   }

  func setShadowButtonDisplay() {
    shadowButton.backgroundColor = .white
    shadowButton.layer.cornerRadius = 20
    shadowButton.shadowColor = UIColor.blue.cgColor
    shadowButton.layer.shadowOpacity = 0.75
    shadowButton.layer.shadowOffset = .zero
    shadowButton.layer.shadowRadius = 5
    shadowButton.layer.shadowPath = UIBezierPath(roundedRect: shadowButton.bounds, cornerRadius: shadowButton.layer.cornerRadius).cgPath
  }
}
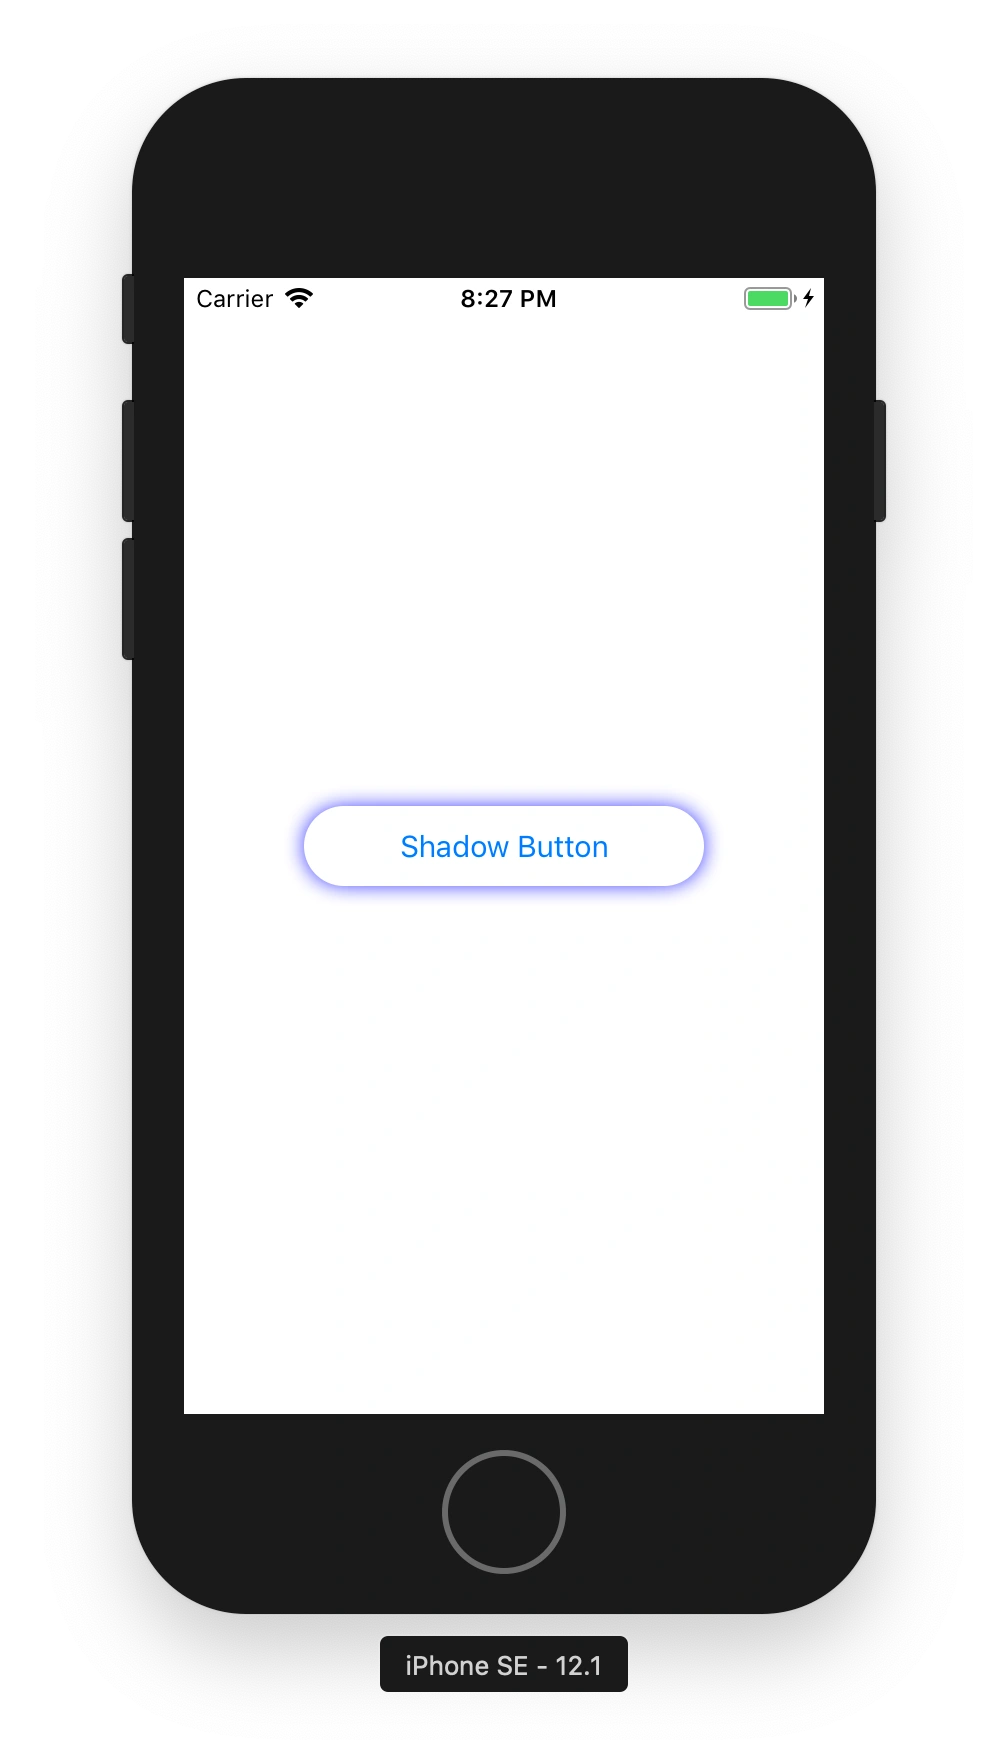
Build and run the project. You should now see your button with rounded edges and a uniform shadow.